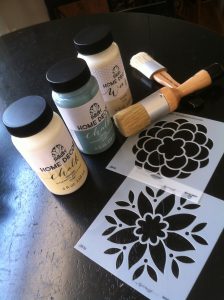
I have been thinking of putting an open shelf in the kitchen for a couple months. I kept putting it off until I found this chalk paint kit in my closet. I bought it from home depot last year at the end of the summer season. I got it for a really good deal. I paid about $5. I feel super good when I get such a bargain.
Chalk paint is a type of paint that will leave a flat finish and a chalky feel. It can be used for creating an aged appearance, and can be distressed easily. I never used the chalk paint before. I read the instructions and did some research. It is very easy to use. Your surface doesn’t need to be sanded or primed before painting, isn’t that great!!!
I start with a trip to home depot to get pine wood and let them cut to the size that I want. Even if it doesn’t required sanding, I like my shelf to have rounded edges so I sand it a little bit. I plan to use a sheepskin color and finish by sanding the corners and edges to make it look a little rustic. To do that I have to stain the wood a little darker to get a better resul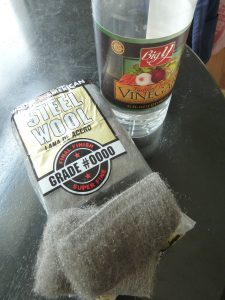 t.
t.
I like to stain the wood with natural ingredient. I discovered the way to do it from a website A Piece of Rainbow, make wood stain – 7 ways by Ananda. She gives tips and tricks from her experience w
hich is very helpful. I used the basic one, vinegar and steal wool. It is really easy to use and it is not smelly, The downside is you won’t know exactly the color you will get. You need to test and experiment to get the color you want.
I soak the shredded steal wool in the vinegar for over 24 hour this will form a soluble substance which will react to the tannins in the wood and creates a darken color when apply. I used a thin cloth to rub the vinegar solution on the wood.
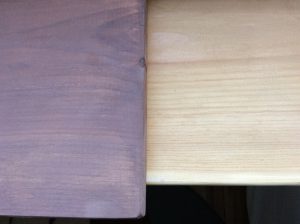
Don’t be surprised if you do not see a color change immediately, it will darken with time. Let it dry completely. you can see the result after 2 hours applied compare with the plain pine wood as below.
Now it’s time to paint. I use a sheepskin color to paint all over the wood. After 2 hour dry time paint a second coat and again give it 2 hours dry time.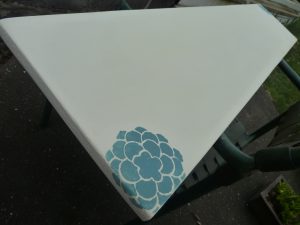
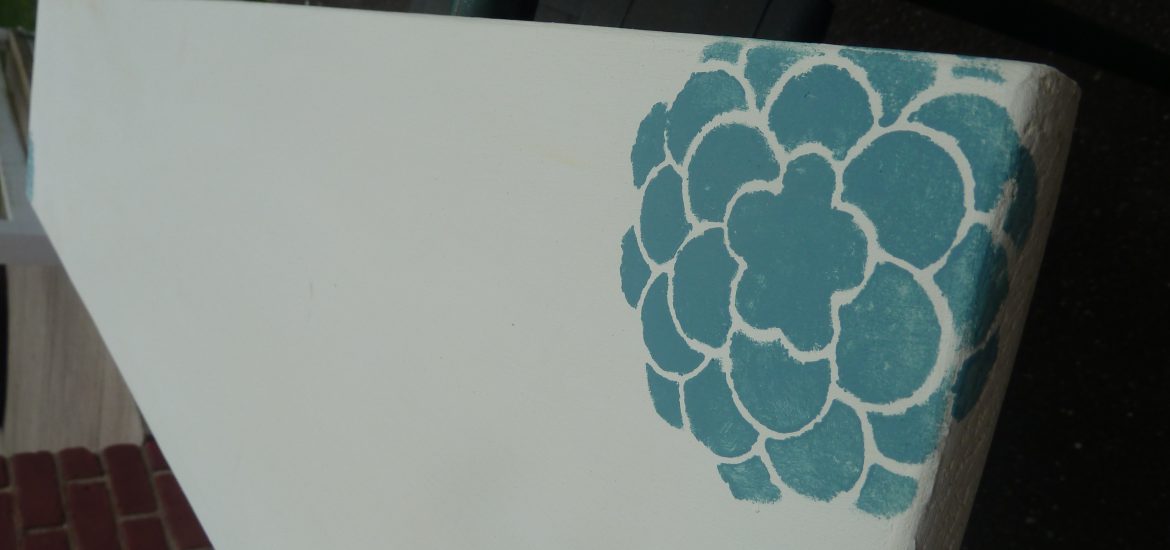
After that I add a little touch by stenciling a flower with cascade color on the corner of the shelf. It adds more character.
When everything is dry, I use a fine sand paper around the wood where I want it to look worn out. Next use a damp cloth to clean the dust and wait for it to dry completely.
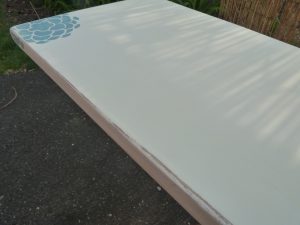
Finish up with the wax. It will provide a protective finish to the project, use brush or lint-free cloth to apply the wax all over the surface. Let dry overnight then use a clean soft cloth buff to desired sheen. now the shelf part is done.
I bought shelf brackets from Lowes for almost $5 each, it comes in black. I painted it the same as a flower on the shelf. I painted it unevenly to give it a rustic look. Don’t forgot to put wax on it and shine them when it is dry.

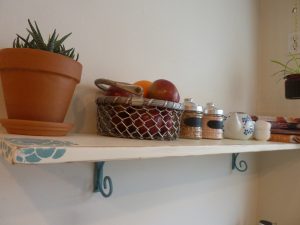
I completed my job, now I pass it to my hubby to finish by hanging the shelf. It needs to be installed straight and strong, that is what I want from him.
I think my hubby didn’t disappoint me. great job my honey!!