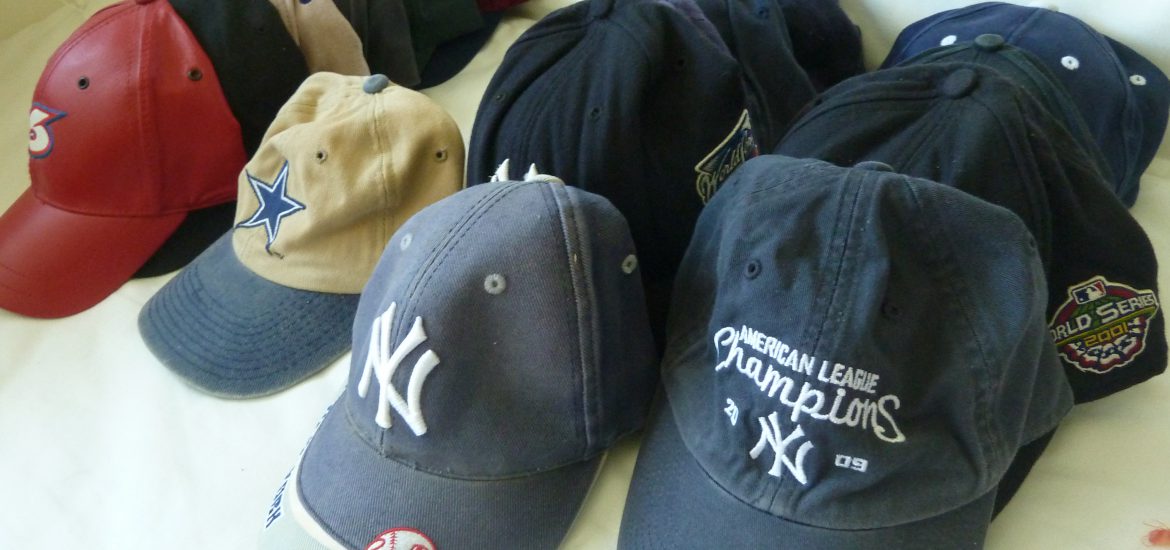
It is spring time, the start of baseball season. I’m not a baseball fan but my hubby is. Beside watching the game all the time, he also collects baseball hats.
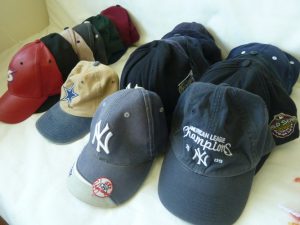 Brandy was his dog, she passed away a couple years ago but all her stories are still with us. When she was a puppy. she liked to chew his hats (more than 15 of them) but he still ended up with this pile, so it was my job to make them to be visible and accessible.
I saw a lot of the hat organizers out there that hung on the doors so I used the same concept with all the available items in my house.
This is the list I used for this project.
- clothes pins
- twain or any type of string that you like.
That’s it. Let’s begin the mission.
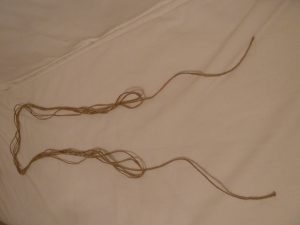
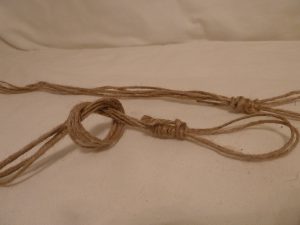
First , measure the length of the hat holder that you want. The string should be 5 times plus about 20 inches longer. Leave about 10 inches of the string at both ends and fold the rest 4 times (that will give you a 5 strands thickness). You can add more length and folds if you like.
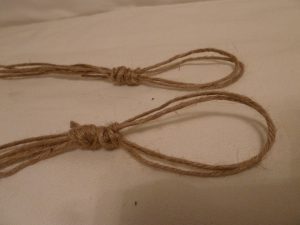
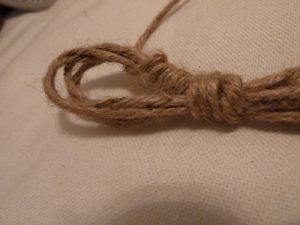
Use extra 10 inches to tie at both ends to make loops for hanging purpose.
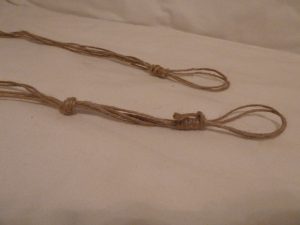
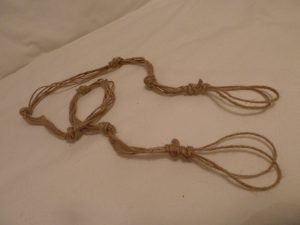
Then I make knots along the length at random to tie the strings together.
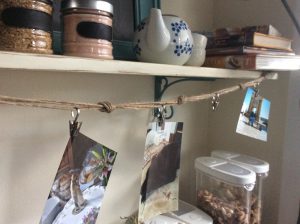
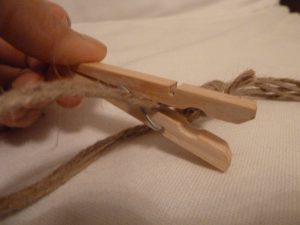
Lastly, put the clothes pin on the string. The length between the pins is up to you. I put them 2-3 inches apart and rotated it them so the opening is on left and right when I hang the hats, My hubby can pick what he want to ware easily.

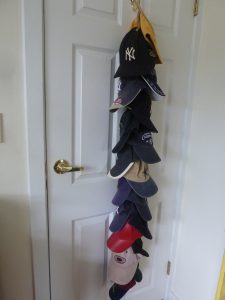
Tada!!!
I have the hat hanger that did the job and save money. it only cost $2.
Mission complete!!!
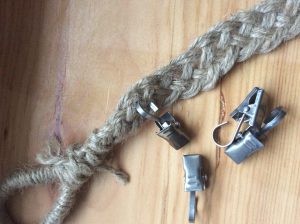
Note: You can braid the string to add more character to your hanker or use different clips to change the look.

You also can use this hanger for other things such as show case your photographs, dry your herbs from garden, and many more.
Enjoy your creativity and have fun hanging your stuff.